Jensen VM9213 Manuel d'utilisateur
Naviguer en ligne ou télécharger Manuel d'utilisateur pour Vidéo de voiture Jensen VM9213. Jensen VM9213 User Manual Manuel d'utilisatio
- Page / 12
- Table des matières
- MARQUE LIVRES
- Installation Guide 1
- What's in the Box 1
- Tools and Supplies 1
- Optional Equipment 2
- Disconnecting the Battery 2
- Pre-installation 2
- Remove Mounting 3
- Sleeve Brackets 3
- Wiring Diagram 4
- Qué hay en la Caja 5
- Herramientas y Suministros 5
- Equipo Opcional 6
- Cómo desconectar la Batería 6
- Pre-instalación 6
- Quite Soportes 7
- Manga del Media 7
- Diagrama de Cableado 8
- Ce qu’il y a dans la boîte 9
- Outils et fournitures 9
- Equipment facultatif 10
- Débrancher la pile 10
- Pré-installation 10
- Enlevez Supports 11
- Manchon de Montage 11
- Diagramme de Câblage 12
Résumé du contenu
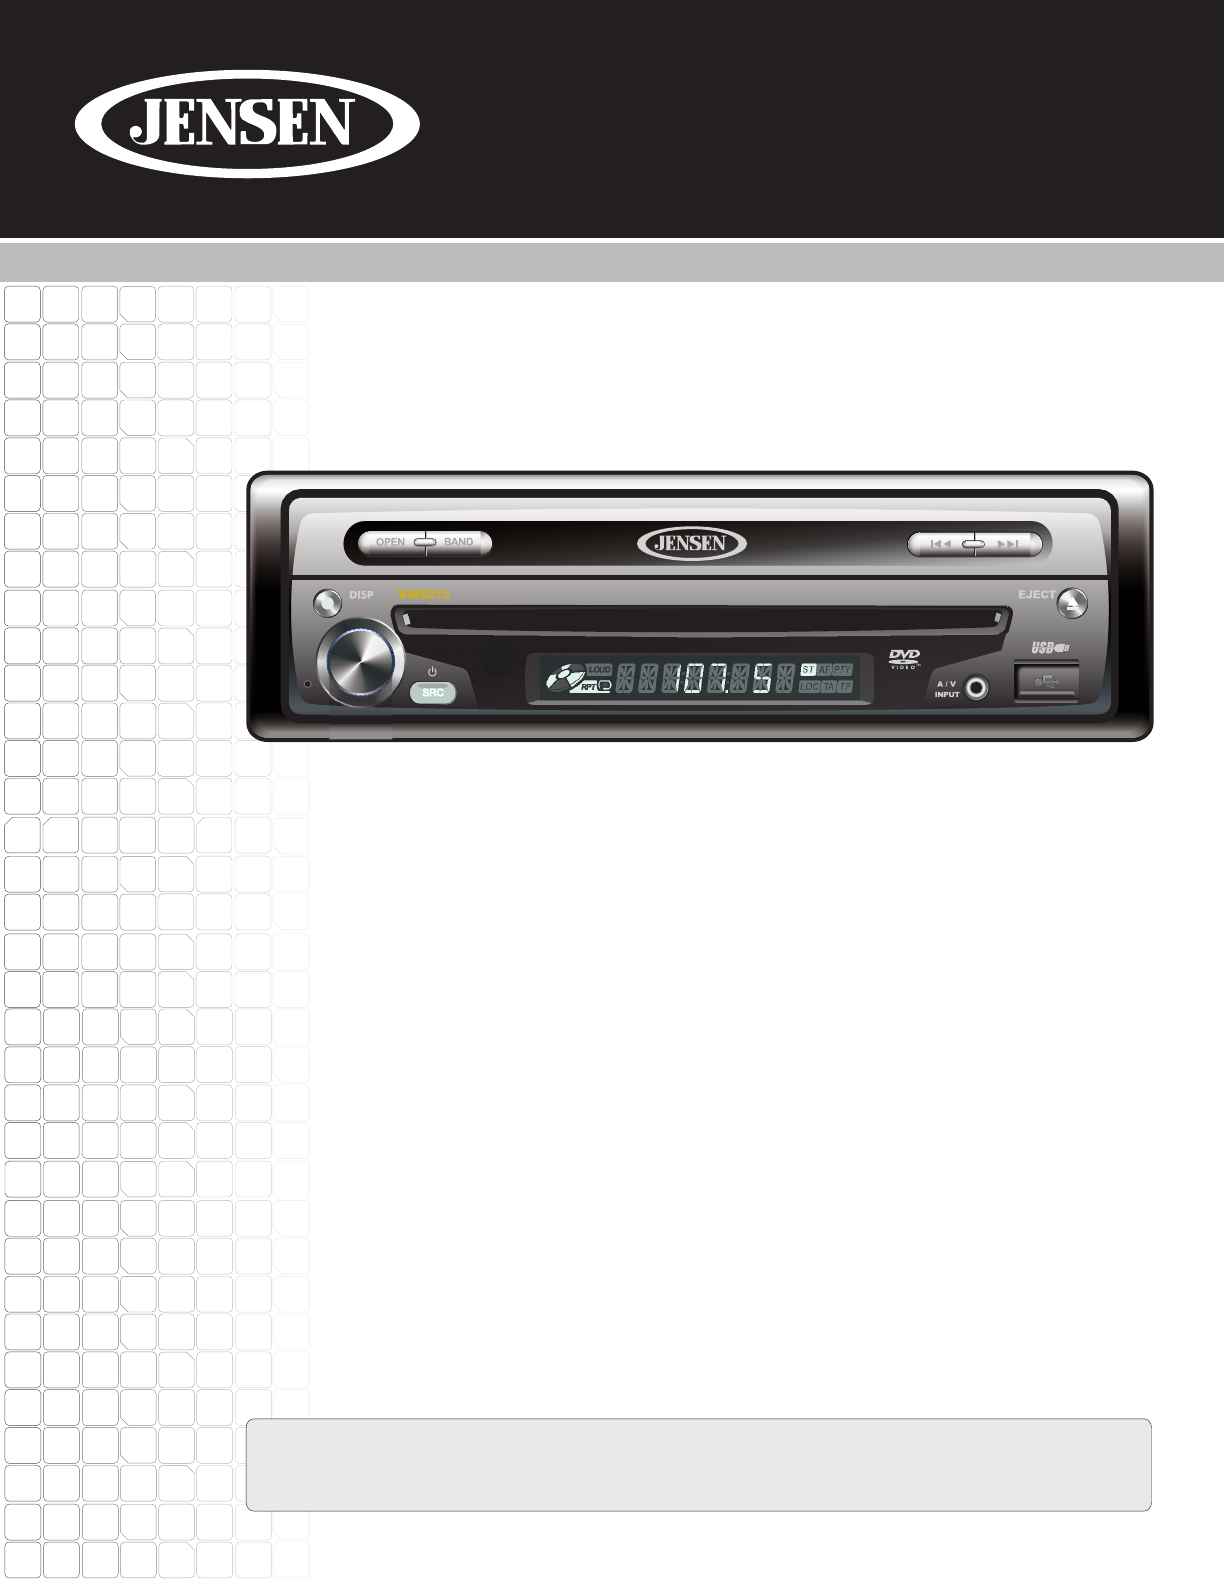
Installation GuideInstruccionnes de Instalación Instructions d'installationVM9213VM9213 Head UnitCosmetic Trim Ring Wiring Harness Power/SpeakerM
Pour empêcher un court circuit; soyez sûr d’éteindre le commutateur d’allumage et enlever le câble de pile négatif (-) avant d’installation. A NOTER :
AVERTISSEMENT! Branchez l’appareil à une alimentation à 12 volts seulement avec une bonne terre.Terminez le câblage comme illustré dans le diagramme d
Commande d'antenne automatique (branchement aufil sortie commande antenne et alimentation del'antenne de l'amplificateur)Commande d&apo
To prevent a short circuit, be sure to turn off the ignition and remove the negative (-) battery cable prior to installation.NOTE: If the VM9213 is to
WARNING! Only connect the unit to a 12-volt power supply with proper grounding.Complete wiring as illustrated in the wiring diagram on page 4. Once th
Auto antenna control (connect to antennacontrol lead & power supply of antennaamplifier)External power amplifier controlBLUEBLUE/WHITEWHITE/BLACK
Instruccionnes de Instalación VM9213Unidad Central VM9213Anillos CosméticoConjunto de cableados de alimentación/parlantesTornillería de Montaje Cubier
Para evitar un cortocircuito, asegúrese de cortar el encendido y quitar el cable negativo (-) de la batería antes de la instalación.NOTA: Si el VM9213
¡ADVERTENCIA! Sólo conectar la unidad a un suministro de energía de 12 voltios con la adecuada conexión a tierra.Complete el cableado como se ilustra
Control de antena automático (conectea la punta del control de antena y a la fuentede alimentación del amplificador de la antena)Control del amplifica
Instructions d'installationVM9213Récepteur mobile multimedia VM9213Rondelle décorativeHarnais de câblage puissance/haut parleurMatériel de montag
Produits connexes et manuels pour Vidéo de voiture Jensen VM9213
 (24 pages)
 (12 pages)
© 2020, manymanuals.fr. Tous droits réservés | 0.491 s |
 Manymanuals.com
 Manymanuals.de
 Manymanuals.fr
 Manymanuals.it
 Manymanuals.pl
 Manymanuals.cz
 Manymanuals.es
 Manymanuals-pt.com
Commentaires sur ces manuels